Doghouse & Engine Cover Install
Updated April 16, 2009
 Here's a picture of the inside of the doghouse. The glove box is on the bottom. The left shows the inside of the panel insert that gives the passenger extra leg room.
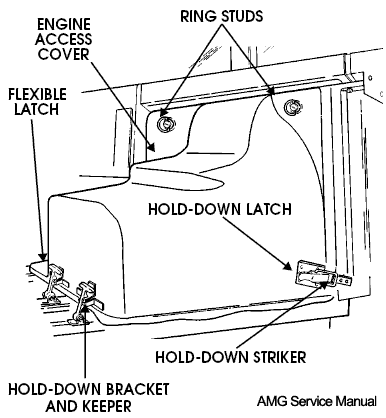
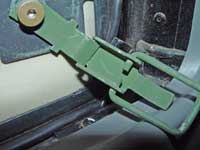
 Check the photos out in the install section. With the shifter levers pulled back the first thing to do is reinstall the engine cover. Insert it in from the passenger side carefully moving wires out of the way as you move it in place. Make sure that the rubber flexible latches at the rear of the cover are not caught under the edge. Also check to be sure that the Hold-down strikers on the side are facing to the front. Center the cover and push it into place and turn the 2 ring studs

Bolt the computer back onto the cover and stick the remote receiver and the DRA back on the velcro strips. The next thing to do is make some sense out of all the wires. I gathered up all wires and vacuum lines that run to the radio and HVAC control in one place. Then gather the 5 harnesses that plug into the power window switch, lockout and windshield defroster (if equipped). The get the wires that go to the upper part of the dash like the cigarette lighters and windshield defroster wires. Use wire ties and fasten the harnesses back onto the engine cover.
 Now it's time to move the doghouse back in. Carefully slide it in from the passenger side of the truck. Leave it pulled back about 10" so you still have access to the rear connectors. Reinstall the flexible heater duct hose. Organize the harnesses and begin to reconnect them. Put the CD player in and bolt it in place.
 Pull all the wires and vacuum lines through the doghouse hole for the HVAC, aux power plug and the monsoon radio. Re-attach the cigarette lighter connectors and any other plugs that you took apart. Gather up the power window switch harness and guide it up into the doghouse hole as you push the doghouse foreword.
Click on the photo for a Larger View.
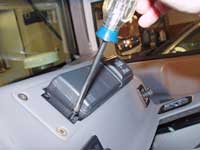
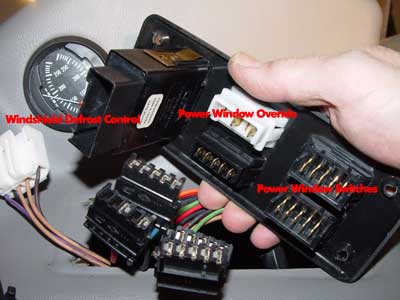
 Reconnect the window switches/ lockout and windshield defroster controller (if equipped) to the harness.
 Reconnect the heated windshield connectors. Shown is my 98 which has the newer style heated windshield thus the different connectors. Make sure that all the internal connectors are now attached.
 Make sure that all the connectors are attached and neatly arranged. Push the doghouse all the way to the front lining up the 1/4" screws on the bottom corners. If you can't push the doghouse foreword enough pull up on the big fat harness that's on the bottom left of the HVAC hole.
Now reinstall the radio and HVAC controls plugging in all the connections.
Don't forget the screws in the doghouse at the top near the windshield.

