
Replacing a Windshield
Updated April 19, 2016
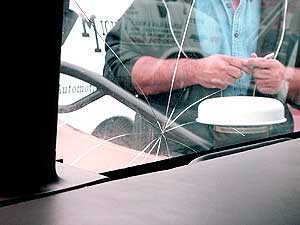 Once again I caught a rock and cracked a windshield on my 1998 wagon. Because the Hummer's windshield is vertical, rocks don't glance off it, they break it. When you order your windshield always order a new windshield gasket. If you are doing the drivers side get a glue kit for the rearview mirror.
There are 3 possible windshields your Hummer may have. All the trucks up to 1997 have plain glass. Because the Hummer always suffered from fogging problems they introduced a heated windshield in 1997 followed by a completely new HVAC system in 1997.5.
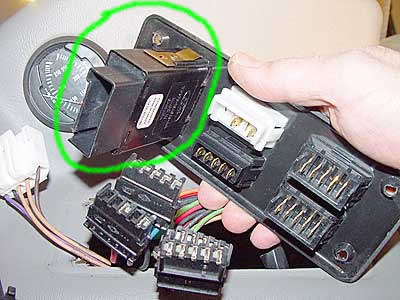 If you want to upgrade your truck to heated windshields you need the 2 heated windshields the heater controller and the electrical connector. The heater controller is a Ford F37B-19A328-AA or just get the AMG part. You might want the power window switch bezel with the defrost cutout and the center pillar trim pieces that hide the windshield connections. You put the ford controller in the switch bezel, run power to the controller and wires to the windshields. Look at the AMG kit info below.
You can see more pictures in the doghouse install section.
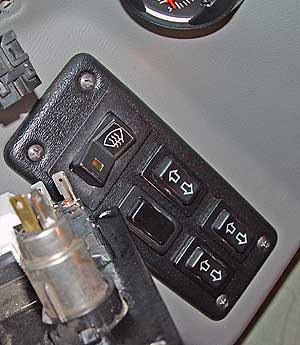 The front of the power window switch windshield defroster.
AMG Kit
5744689 (Qty. 1) Basic Heated Windshield Kit (for 1996 TD Wagon)
6008741 (Qty. 1) Heated W/S Panel/ Bezel Assembly (w/o Power Windows)
6008730 (Qty. 1) Heated W/S Panel/Bezel Assembly (w/Power Windows)
Use the additional parts below only if equipped with factory installed or
Genuine HUMMER Compass/Temp. Mirror Inside Rearview Mirror:
6009334 (Qty. 1) Insert Harness
MS3367-1 (Qty. 2) Tie-wrap
6008655 (Qty. 1) Relay
Note: When the heated windshield comes on the Compass/ Temp on the mirror turns off. The heater wires must mess up the magnetic field for the compass.
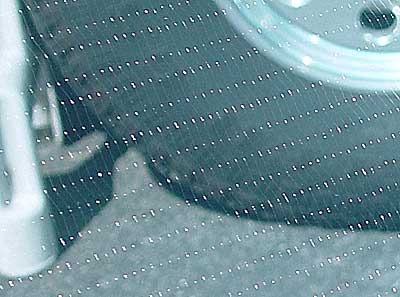 This windshield has very thin vertical heater wires running through the glass that operate like a standard rear window defroster found in many cars. The heated windshield's visibility was improved in 2000 by using thinner wires. The original heated windshield had different connectors then the newer style. Since the original windshield is no longer available you have to install new connectors on the hookup wires.
These windshields draw 250 watts each or around 20 amps.
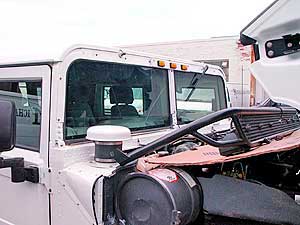
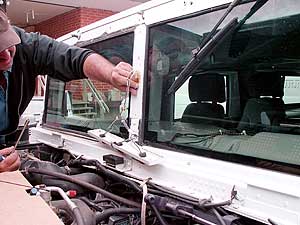
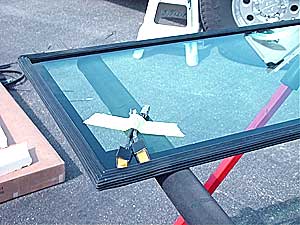
I had to Drop the light bar down to access the windshield. Then you remove the windshield wiper, the outer curved trim and the vertical trim on the center pillar. On the inside remove the plastic trim over the heater wires and unplug them. If you are replacing the drivers side you need to remove the rearview mirror which comes off with a simple set screw.
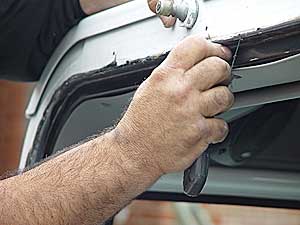
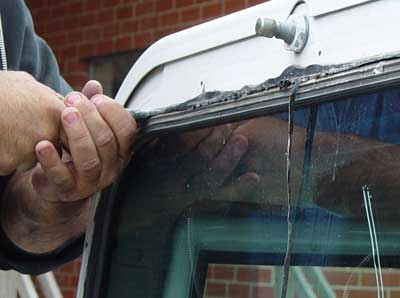 Take a sharp razor knife and cut all around the outside of the window gasket.
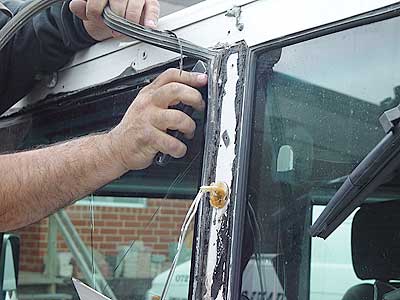 Cutting along the surface of the glass with a razor knife pull the gasket out of the way and remove the windshield.
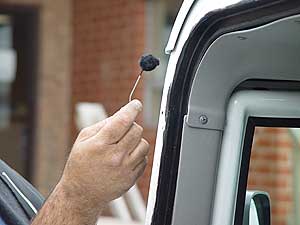
Clean the excess gasket and sealer out of the window channel and swab an adhesive primer into the groove.
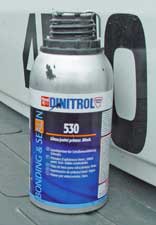
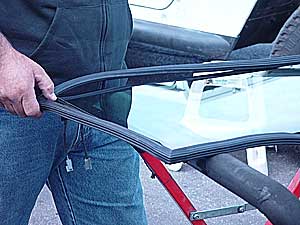
Bottle of Adhesive primer. Clean the glass well and install the new gasket.
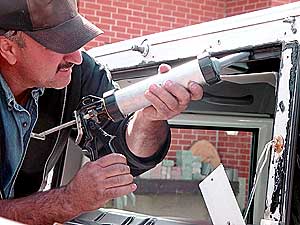
Tape the heater wires out of the way and run a bead of sealer around the inside of the window channel. I never saw a caulk gun like the one the installer had. He said the gun uses these flex tubes that are like a big tube of toothpaste. He was using 3M fast cure auto glass urethane sealer #8689 (flex pac) or 8690 (tube). Automotive paint stores usually carry 3m professional products.


Be really careful. If you break a heated windshield you will be throwing over 700 bucks down the drain. Grab the glass with a suction cup tool and press it gently into the window channel. We ran a bead of sealer around the window gasket.
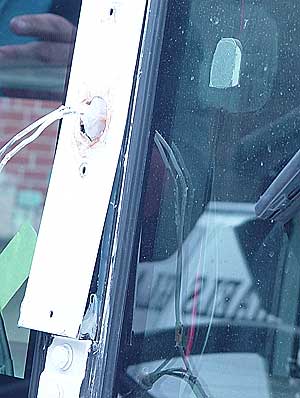
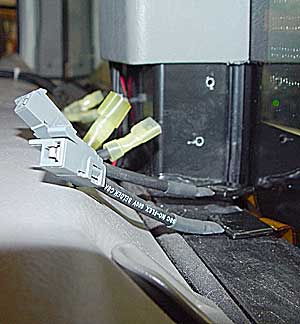
 We used clear silicone to seal the hole where the marker light wires come through. We also ran a thin bead where the flat rectangular trim piece is applied. The new windshields come with the gray connectors show above. I removed them and replaced them with standard spade connectors. The electrical connection between the windshield and the connector is fragile so be careful when you tuck them back under the trim.
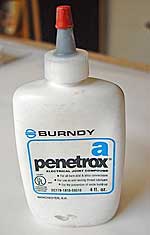
When I first did this I found that the high current that these windshields draw was causing the spade connections to heat up. I solved this by using some Penetrox A electrical joint conductivity compound. This stuff is used by electricians for bus bars and aluminum joints to seal out moisture and ensure a good connection. It also says on the bottle that it's a good antisieze compound. I got this from AES / Amateur Electronic Supply.
