Right Hand Drive Conversion
Updated December 24, 2014
You don't want to do this!

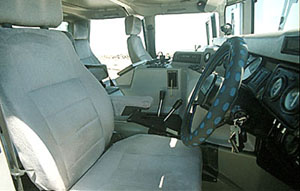
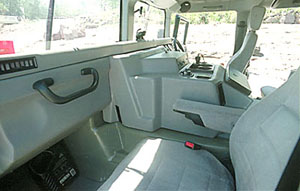
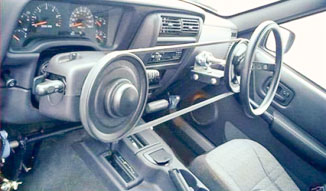
We left the Brake booster on the left side and used a new pedal arm which we keyed and shrink fit onto a shaft that runs across the vehicle under the windshield to operate the brakes. The steering wheel, dash, etc is all moved over with a bit of creative sheetmetal work, the handbrake utilizes the same setup with a cable rather than the rod. The shifter can be cross shafted or in my truck I used a B & M Sportshifter. The accelerator is mounted to a kick panel on the RHS with a longer cable.
The steering box was moved to the outside of the RHS chassis rail and a second idler arm was installed where the steering box used to be. We forged a new 38mm diameter center link with an extra hole in the center to take a hummer tie rod end. The tube from this extra tie rod becomes a drag link (connected to the steering box) to operate the steering. Sounds simple, but there is a bit of work getting the geometry right.
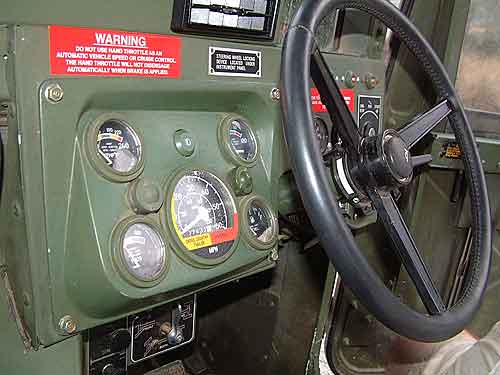
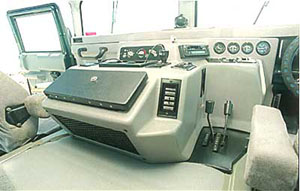
Wiring was easy. I turned the harness upside down! So if you look at the pics of my truck in the photo's section you will see that all switches, guages etc. are in a mirror image location. Look closely at the guages in the cluster you will see they are a mirror of the LHS orientation. I had to make a mirror image of the angled guage cluster to suit it being on the LHS of the steering wheel. The pictures show a first off prototype to prove the concept. In the end I had a CAD model made of the cluster; mirrored it and had a laser scintered prototype made. It was then cast in Silicone where a high impact resin part was made.
The heater was moved over to the LHS. The RHS side is a bit more cramped but you can cut the tunnel back a bit to gain more room if required.
Brad Dunstan
Brad's HMMWV